Warning: A longer, more techinical post than usual!
It’s been pretty fascinating to watch the house walls go up. We get a lot of questions about how the structural insulated panels, or SIPs, are assembled, so I thought I’d write about it. There are other resources on the web that show examples of house assembly, but here’s how ours is working.
First off, if you’re not familiar with SIPs, they’re fabricated in a factory. In our case, the walls and roof were made by Big Sky Insulations/R-Control, in Bozeman, Montana. What you get when the truck shows up, is a huge pile of panels that are foam insulation, with oriented strand board, or OSB, on either side. So the panels end up looking like big green sandwiches, with foam as the tasty center.
The OSB has a green tint, but not green as in “we’re so special, we’re building green!” No, it’s a proprietary mildew and termite treatment. So we now have a 20-year warranty against all kinds of nefarious things. Which is a good thing.
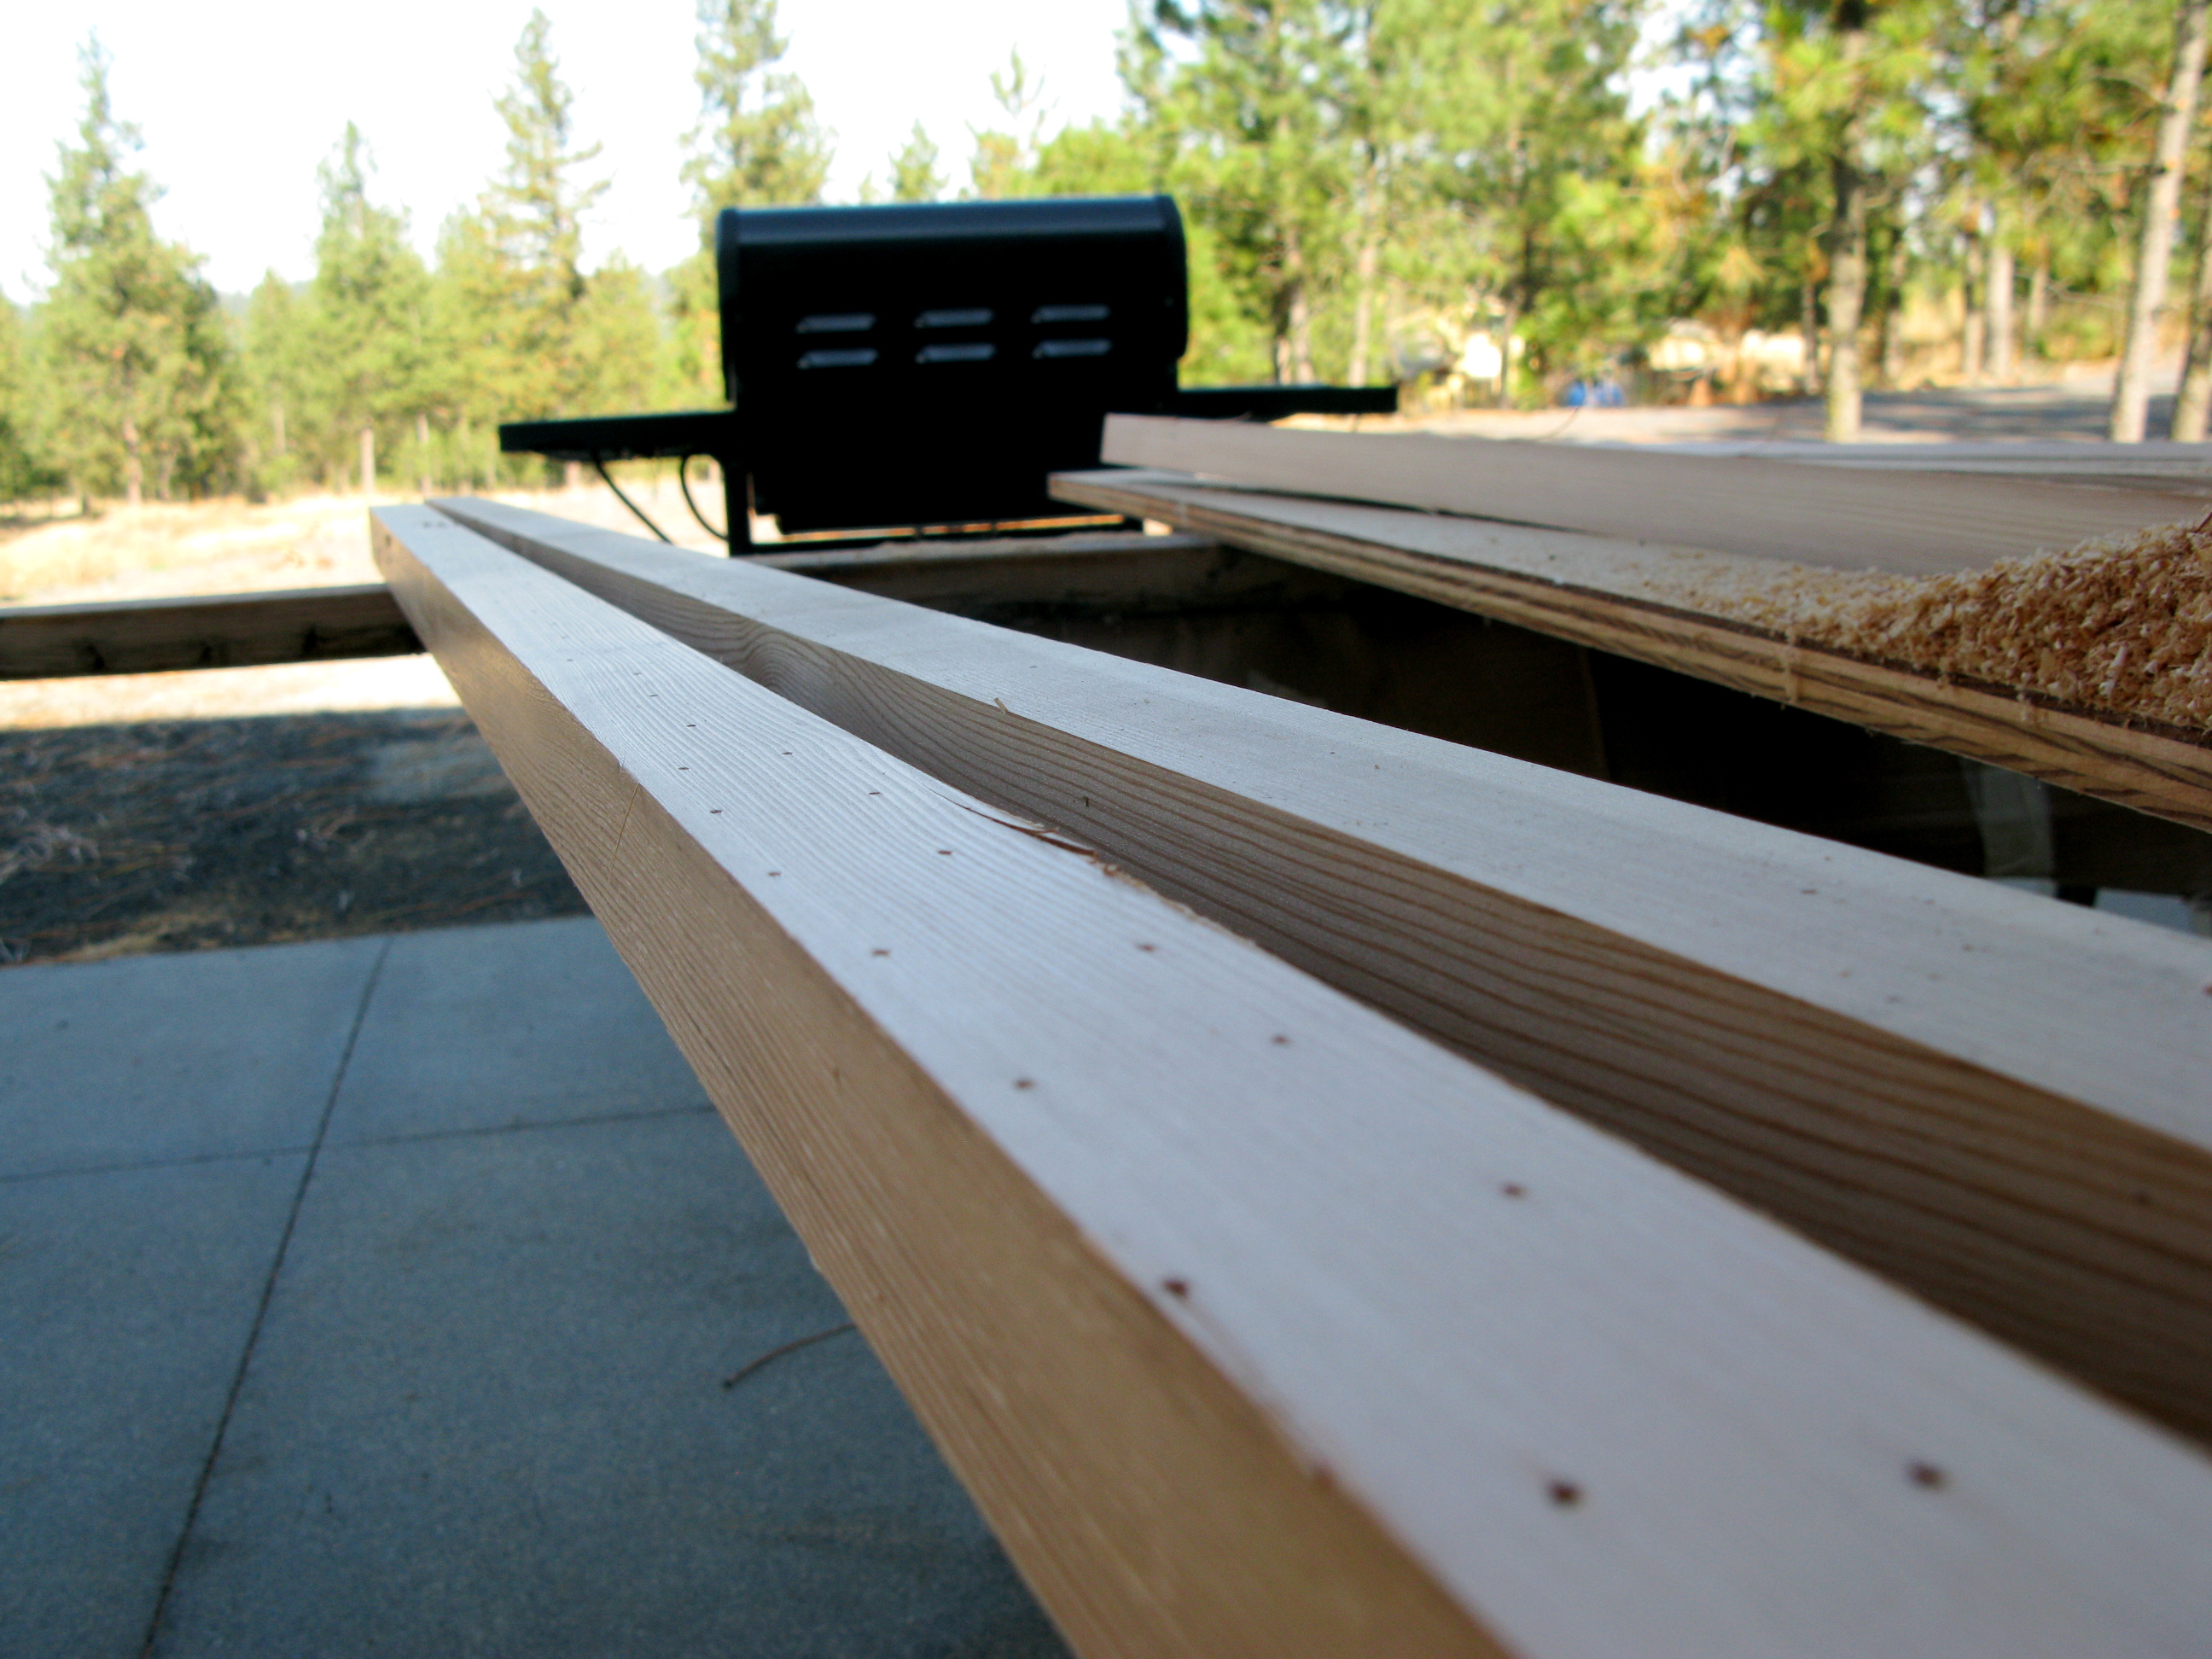
During manufacturing, wiring chases are cut into each panel. These run horizontally at set heights (so it’s easy for an electrician to find wires for outlets or sconces or whatever), as well as vertically. Big Sky also ran chases to the exact location of every ceiling fixture. This isn’t essential, but should make life much nicer for our electrician.

Note the wiring chases.

The panels come mortised to accept a connector, and to attach to the sill plate.
OK, so the panels show up on a big truck, and the sill plate has already been installed.This is a 2″ x 6″ mounted to a piece of treated plywood. The plywood, I think, helps support the OSB.

Installing the sill

Each stack of SIPs from the truck comes with an inventory. Individual panels are also marked.
Our crew, with some guidance from the SIPs rep (also not essential, but a definite value add), began putting up walls. In theory it’s a simple process, but with our snowy/slushy/rainy site conditions, there were times that weren’t terribly fun for the crew.

The drawings from Big Sky show the panel layout, among other things.
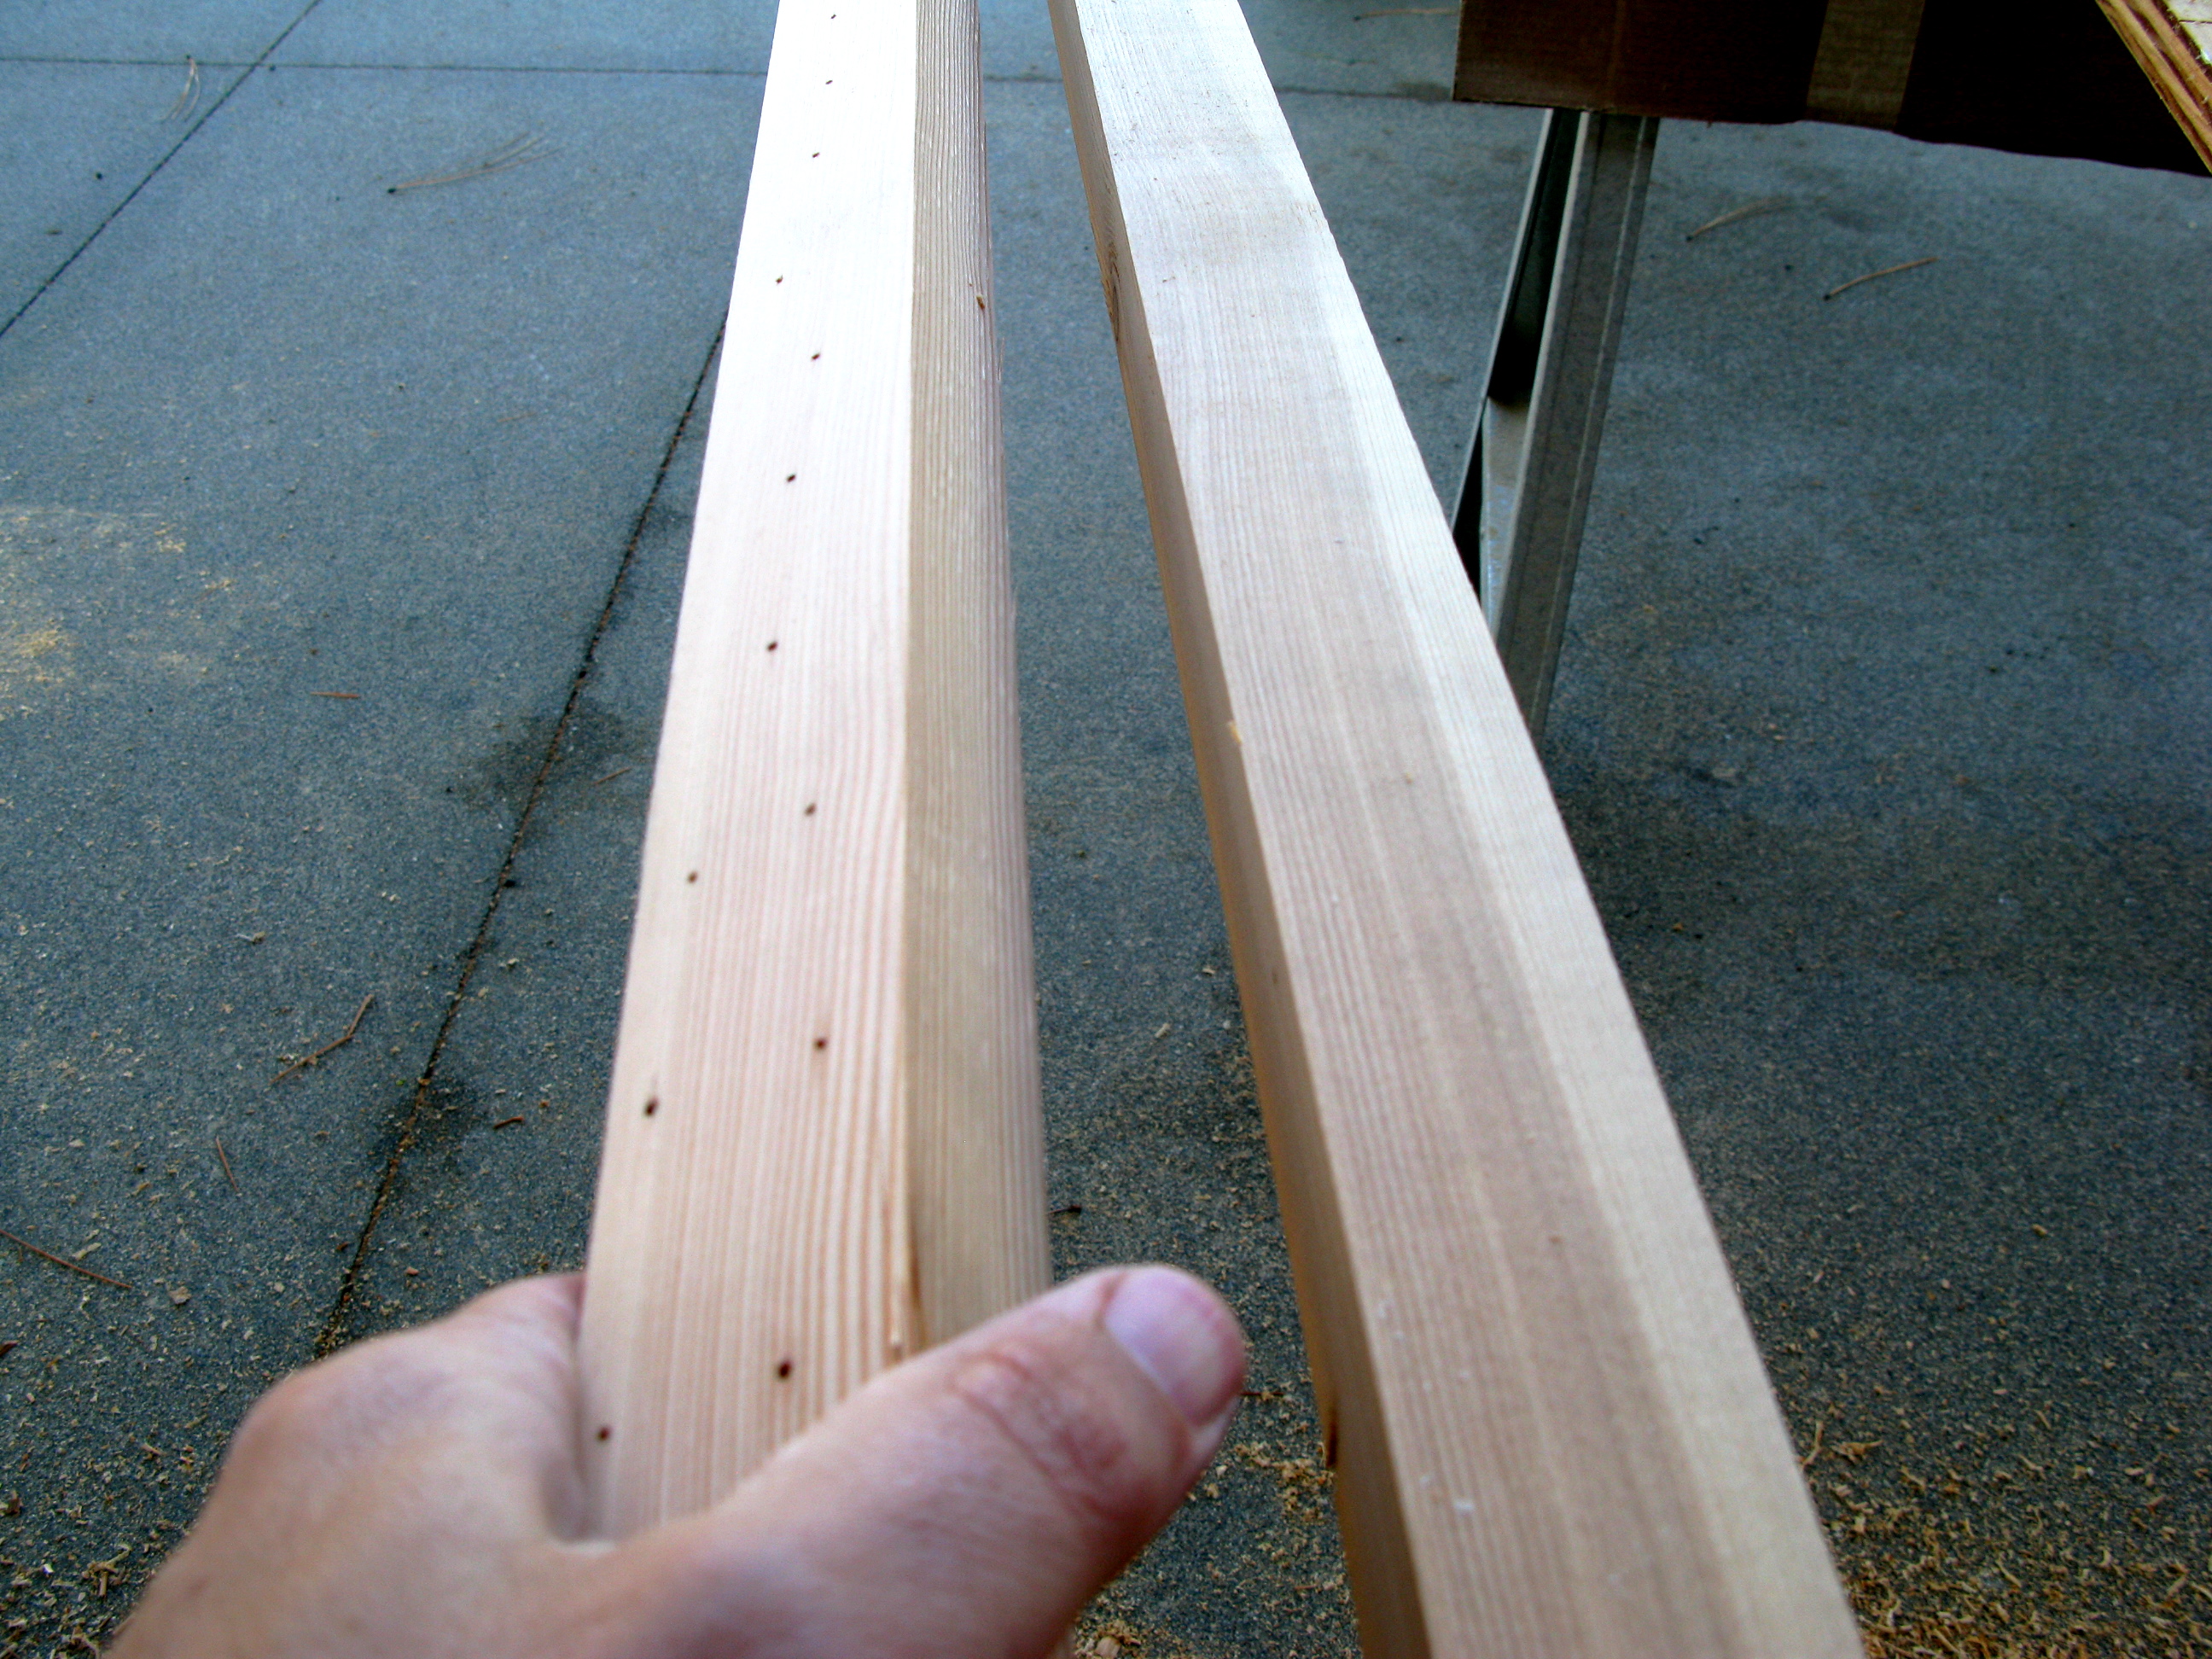
The next step is running a thick bead of R-Control’s “Do-All-Ply” to the sill and the inside channels of the SIP. Essentially anywhere foam contacts wood, this caulky/gluey looking material is used.

Installing lumber into SIP

You can see the "Do-All-Ply" splooging out in this shot.
The panels are then lifted onto the sill. And they can get heavy. I think (although am not sure) that they’re five pounds/square foot, for the 6 1/2 inch wall panels. So our panels are between 100 and 350 pounds each.

Lifting the panel. Site conditions = far from ideal.
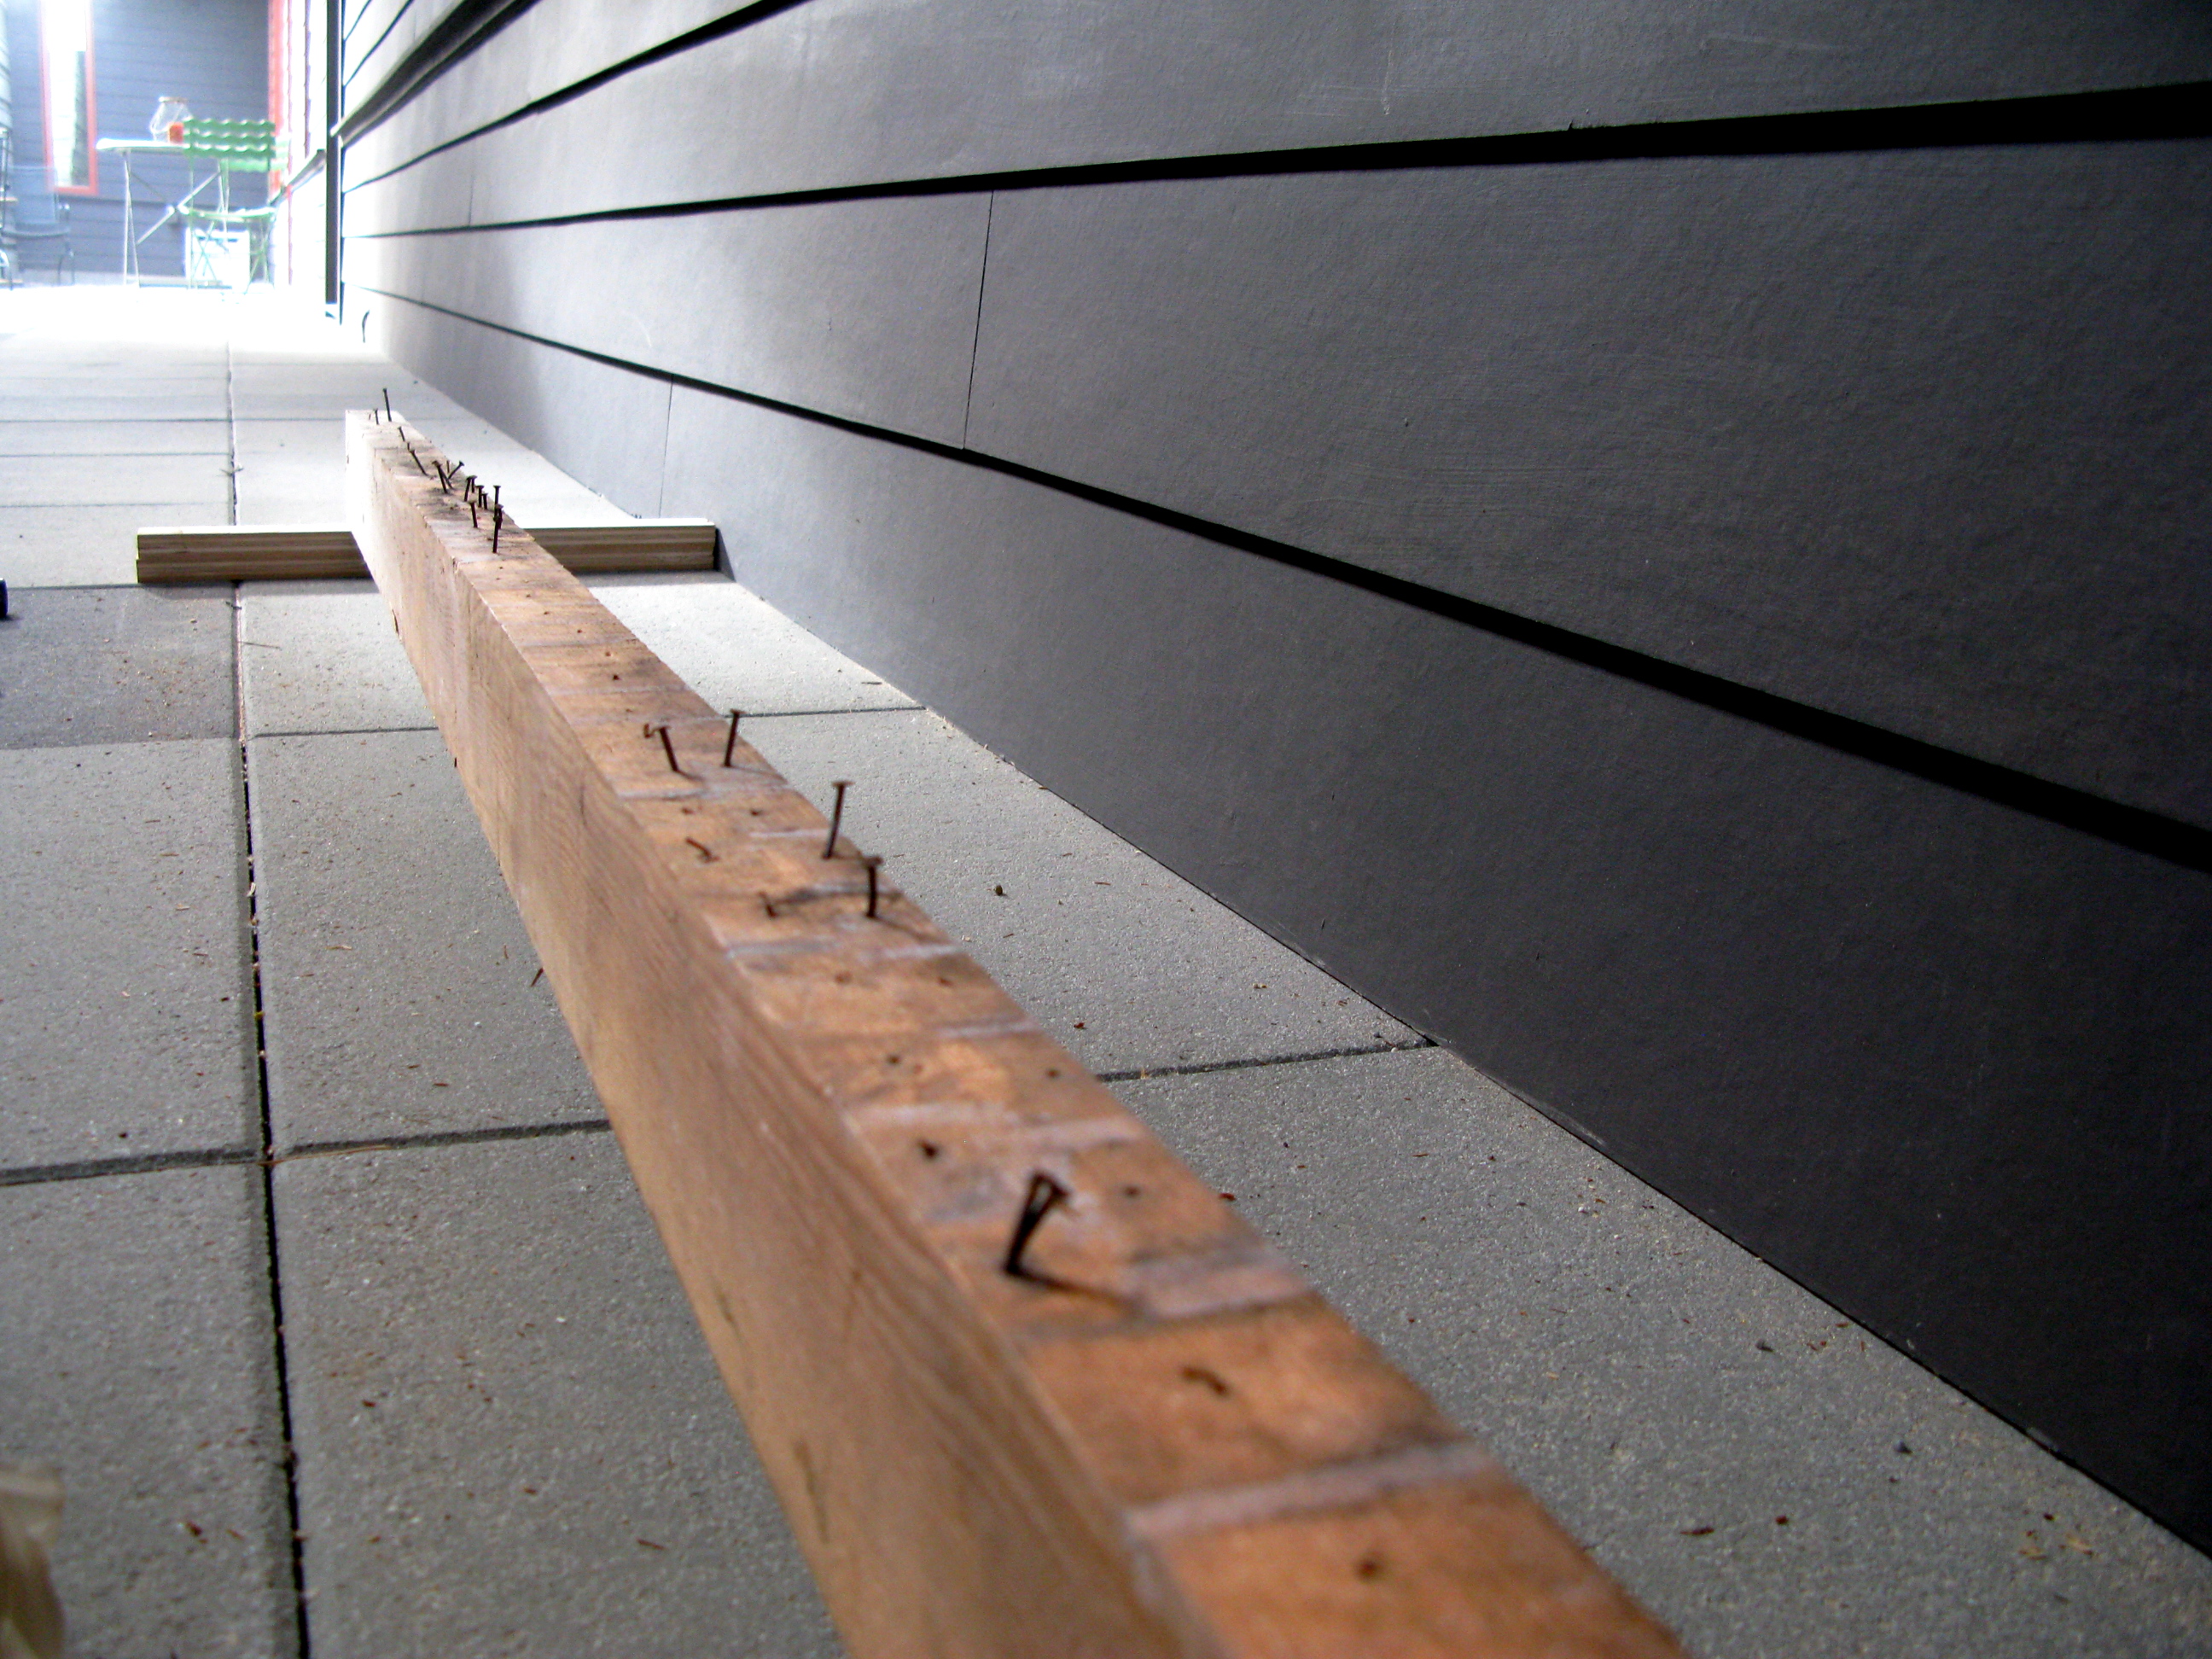
Once the panel is up, it gets nailed, through the OSB skin, into the sill plate.
From there, the crew installed connecting material between the panels, nailing it all together again. The type of connector varies though, depending on where the panels are, what’s attached to them (another panel or say, a sliding door) and the what the house needed from an engineering perspective. Our architect, Matt Melcher, worked through the engineering with Big Sky’s panel engineer, plus an independent structural engineering firm they hired.

Dennis messing with an insulated spline.
In our house, we’re using a combination of R-Control’s insulated splines, standard 2″ x 6″ framing lumber (where we have large window or door openings) and 6″ x 6″ posts (when we need to support roof beams). All together this creates a very strong and rigid system. In fact it’s stronger than a traditionally framed house.

Each panel is detailed for placement and how they'll be connected.
Big Sky cuts its panels to within 1/16″ of what is provided from our architect. And in my opinion, Matt came up with some very, very clever design details that play to the strengths SIPs offer.
For example, check out the details below. These are pockets that Matt designed into the panels. In a traditionally framed house, this is a fussy detail, at best. It requires a lot of framing work, and a lot of finishing work to make it look right. What we ended up with is beams, supported by the panels and surrounded by either insulation, or supported by a wood post. This makes beam installation really easy, removes figuring out how to insulate around the beam, and will create a very slick system for drywalling our ceiling. (More on this another time.) Anyway, it’s one of those very simple, elegant solutions that make the design nerd in me happy. Good for Matt. I love that he’s playing to the strengths of the materials we’re using.

The slick system I wrote about. This beam also has a nailer attached to it, which will be used to attach a clerestory window.

More beam detailing. This one sits on a 6" x 6" wood post.

Here's the end of our garage, showing the beam pocket, sans beam.
And then there’s the insulation properties. SIPs create a highly insulated envelope. We’ll be around R-30 at the walls, and R-50 at the roof. But to hear the company talk about this, compared with traditional fiberglass (or similar) insulation, we’ll have a “true” R-50. My understanding is that it’s impossible to install a batt of fiberglass insulation, or even field applied spray-in foam, without air leaking around the sides. With SIPs we don’t have this problem.
Finally, the last thing we get asked about–a lot–is cost. Without going into too many specifics, by working the design process, having a builder on board that was willing to work with an alternative building system (Carrie), and having a vendor (Big Sky) that really came to the table with great ideas, we were able to get the cost difference between SIPs and stick framing down to a couple of thousand dollars. The materials cost more, but labor to install is less–even in crappy weather like we’re having. And because of the excellent insulation we’ll have, it will absolutely save us money after a year or so.
Finally, a major tip of the hat to Big Sky. The panels have been absolutely spot on. As far as I know, we haven’t had a single panel that needed adjustment. To me this is no small feat. They’ve also been a lot of fun to work with, and that’s important too.